The “Red Frame” bug has plagued Premiere since at least 2006. Adobe claimed to fix the issue with the release of Premiere Pro 7.2.2. Its a step towards a fix but the bug is still not totally squashed.
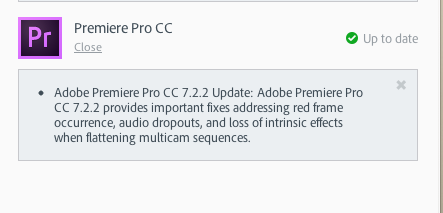
Back on April 7, 2014 Adobe released an update to Premiere Pro CC. This update took Premiere to version 7.2.2 and promised to provide important fixes to many bugs including the dreaded “Red Frame” occurrence. I was excited!!
Quell the excitement. The “Red Frame” occurrence still plagues my workflow. A quick Google search shows that the Red Frame occurrence has plagued Premiere users since 2006!
2006!!!
Has Adobe fallen asleep at the wheel?
I’ll detail the one instance using After Effects that can cause the Red Frame occurrence and how to avoid it. But know that it has appeared in the past during AME compressions without my knowledge. I’ve had clients complain about red frames that I never knew existed and still don’t know what caused them.
Here is the one process i’m aware of that will cause the red frames to occur. Let me know in the comments if you are able to cause the Red frame to appear on your system.
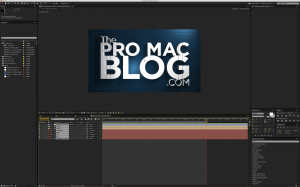
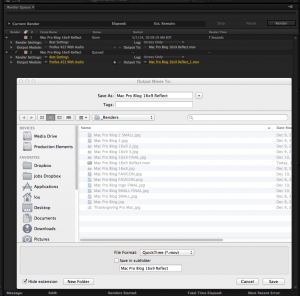
Open After Effects and render a 5 second movie. I took a still frame of the Pro Mac Blog logo and rendered a 1920×1080 ProRes Quicktime clip.
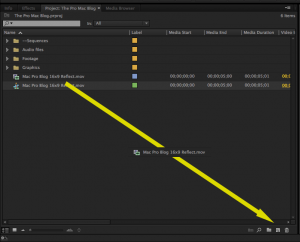
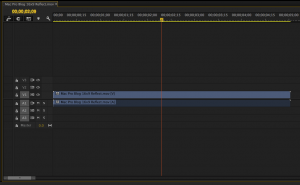
Import the rendered movie clip into Premiere and create a new sequence by dragging the clip onto the “New Item” icon at the bottom of the Project window.
Park your timeline indicator anywhere on the rendered clip in the sequence and leave it there. (I believe that the red frame will NOT occur if you are not parked on a clip that is being re-rendered)
Switch back to After Effects and re-render the movie using the same name and destination folder as before. Pretend you are correcting a typo. Make sure you are overwriting the original render. I do this all the time when I make tweaks or corrections to my Ae renders. I’ll explain why this is an efficient workflow in a bit.
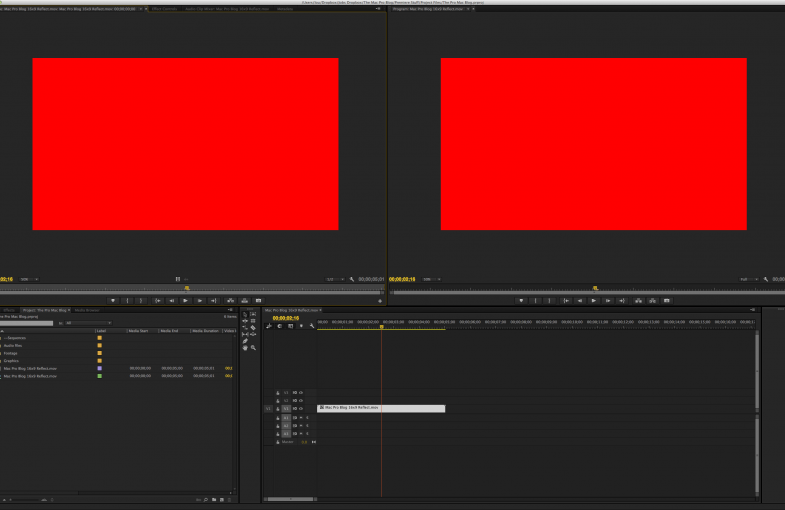
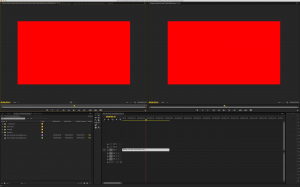
After the re-render is complete switch back to Premiere from Ae. Premiere will notice that the file has been updated and will display the update in the viewer windows. You should see the red frame immediately. Everything else will work fine except for the one frame where your timeline indicator was parked during the re-render.
You can scrub through the rest of the clip and everything will display fine. When you come to the frame where the timeline indicator was parked during the time of the re-render there will be one frame of red. The red frame will appear in both the Source monitor and the Program monitor. The red frame will not appear on the source movie file during playback in another player such at Quicktime or VLC. The red frame will also appear in your compressions made with Adobe Media Encoder.
The only way to get rid of the red frame at this point is to quit Premiere and restart.
I’ve been plagued by the Red frame on many different projects during my entire two+ year experience with Premiere Pro. Even after the update to 7.2.2 I’m still able to duplicate the bug on my 2008 Mac Pro and my 2012 Retina Mac Book Pro. The occurrence used to happen EVERY time I replaced a render file that was being used in Premeire but since the update the occurrence is definitely less frequent. While writing this blog post I was always able to cause the appearance of the Red frame on my first try but I did have to do some finagling to cause it to occur a second or third time. I was ultimately successful in causing the reoccurrence, meaning that the bug is now completely random. In my opinion “completely random” is worse than totally predictable. I’m curious how you all fare.
My workaround is to quit Premiere before I render any tweaks or changes to my After Effects sequences and then restarting the Premiere project after Ae is finished the re-render. Premiere will update the renders without the red frames on restart. Overwriting the original render file saves me the time of re-editing the updated clip into my Premiere Pro sequence. It also saves hard drive space since I’m not keeping every instance of a render. There are times when I will rename a render and re-edit in Premiere but for the most part this process saves a lot of duplicated effort in Premiere. If I feel there is something I might need to go back to I can always duplicate and save the sequence in Ae before I make any changes.
I am well aware of using Dynamic Link to bring Ae sequences into Premiere without rendering. That workflow is great for projects that contain a few small Ae sequences. For projects with a lot of Ae content it doesn’t pay to wait for AME to render every linked Ae clip during every output sequence before picture lock. I’d rather wait for the render in Ae one time and playback the Quicktime movie in Premiere in real time. Until Ae and Premiere become totally optimized with the ability for high frame rate playback of unrendered sequences I think rendering once in the beginning is much better than rendering every time during AME output.
Let me know how you all fare trying to duplicate the red frame issue. I’d love to know if I’m the only one!!!
~Lou Borella
Related Posts
The TITLE BAR Tip (Tip #1) UPDATED Next Post:
Motion Graphics and Shred Guitar … Life is Good!

